How To: Remove Acid Etch Graffiti from Glass
Before You Begin > Step One: Abrasion > Step Two: Pre-Polish > Step Three: Polish > FAQ/Troubleshooting

Acid Etch Graffiti
Acid Etch Graffiti
Damage Category: 3
Approx. Time/Sq. Ft.: 12 – 15 minutes
Acid Etch Graffiti on glass comes from deliberate vandalism. Vandals use hydrofluoric acid (HF) or similar acids to etch glass surfaces. They often choose hobbyist-grade HF to create white, frosted lettering or designs. The etching depth varies from medium to extreme. You may see drip tails along the lower edges of the marks. Technicians inspect the glass to measure the etching pattern and depth. This evaluation helps them choose the right restoration method to remove the etching while keeping the glass clear and strong.
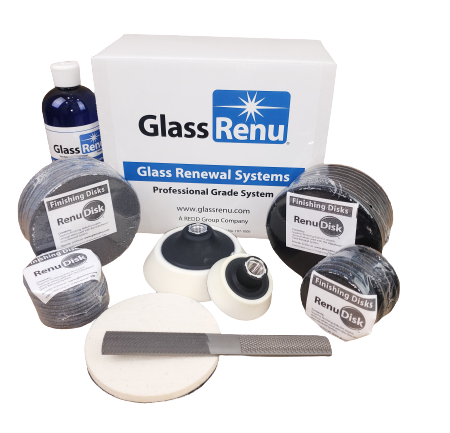
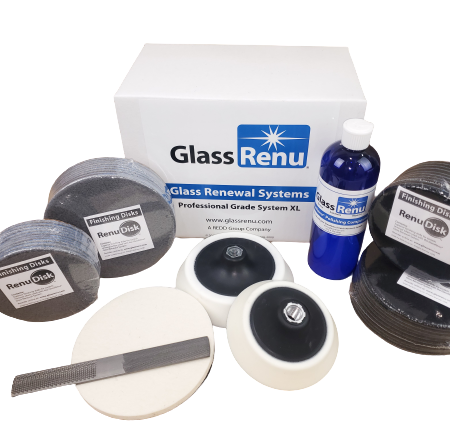
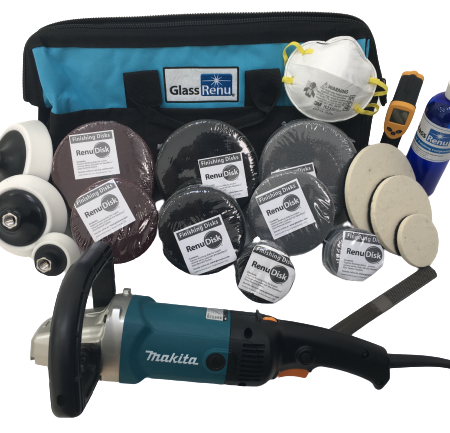
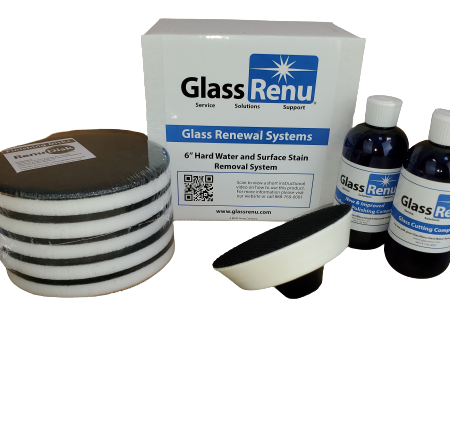
Acid Etching Graffiti is easily removed using GlassRenu’s Black RenuDisk(s), Grey RenuDisk(s), Polishing Compound, and Polishing Felts..
Before you Begin


| Workspace Checklist |
|---|
| Power Access |
| Workbenches, ladders, scaffoldings, lifts, etc. |
| Masking Tools |
| Drop Clothes/ Tarps/ Waste Receptacles |
| Temperature management tools |
| Damage Assessment Checklist |
|---|
| Confirm Glass Type |
| Confirm Damage Type |
| Inspect Glass System Integrity (Framing, Glazing, etc.) |
| Inspect Glass Pane Integrity (Cracks, Chips, etc.) |
| Identify damage location(s) |
IMPORTANT NOTE: During the glass restoration process, it’s crucial to closely monitor the temperature of the glass pane. The heat generated from grinding or polishing can increase the risk of thermal stress, potentially leading to cracks or breakage. To effectively manage this risk, it is recommended to use a non-contact thermometer, a tool available at most hardware stores. This allows for accurate and safe temperature measurements without interrupting the workflow.
Regular monitoring of the temperature differential between the repair area and the rest of the pane is key to preventing thermal damage. Should the temperature in the work area rise significantly, pause the restoration and allow the glass to cool. Immediate cessation of work and allowing the pane to return to a normal temperature range is necessary if overheating occurs. For specific temperature guidelines and detailed procedures on managing thermal expansion, please refer to section C 3.1.1.0 – Thermal Expansion.


| TEMPERATURE ADVISORY | Delta | Maximum Temperature |
| Annealed | +80℉ Δ | N/A |
| Tempered | +120℉ Δ | N/A |
| Laminate- Annealed | +80℉ Δ | 145℉ |
| Laminate- Tempered | +120℉ Δ | 145℉ |
| Mirrored | +80℉ Δ | N/A |
Acid Etch Graffiti-
Step One: Abrade
Step One: Abrasion utilizes a Black RenuDisk to quickly remove target damage.
- Secure a Black RenuDisk to the designated backing pad.
- Adjust the polisher to operate at a rotational speed of 1800 RPM.
- Align the RenuDisk surface directly above the glass’s damaged area, ensuring that the disk remains parallel to the glass pane.
- Engage the polisher’s power trigger, and trigger lock.
- Employ a systematic abrasion approach by guiding the RenuDisk in consistent left-to-right and right-to-left passes across the damaged area. Each subsequent pass should overlap the previous by approximately half the width of the disk. Maintain uniform pressure throughout the process, continuing abrasion until all target damage has been fully removed.
- Disengage the RenuDisk from the glass pane.
- Disengage the polisher’s power trigger. Ensure the disk is stationary.
- Detach the Black RenuDisk.
- Continue to [Step Two: Pre-Polish].
NOTE: Over the course of Abrasion, glass stock will accumulate on the RenuDisk surface. If the RenuDisk is clogged, and further refinement/ expansion of the established work area is required, it may be necessary to clean the RenuDisk and continue to abrade. To maintain optimal performance of the Black RenuDisk:
– Disengage the polisher’s power trigger. Ensure the disk is stationary.
– Utilize the non-aggressive face of the rasp file or wire brush.
– Administer gentle tapping motions on the RenuDisk surface. Refrain from brushing.


Step Two: Pre-Polish
Step Two: Pre-Polish is broken down into two distinct sub-steps: Mid Speed, and High Speed Pre-Polish. Each sub-section utilizes the same Grey Renudisk to refine, feather, and expand the established work area.
Mid Speed Pre-Polish
- Secure a new Grey RenuDisk to the designated backing pad.
- Adjust the polisher to operate at a rotational speed of 1800 RPM.
- Engage the polisher’s power trigger, and trigger lock.
- Align the RenuDisk surface to overlap the top left corner of the established work area by approximately ½ the diameter of the RenuDisk, ensuring that the disk remains parallel to the glass pane.
- Employ a systematic abrasion approach by guiding the RenuDisk in consistent left-to-right and right-to-left passes, gradually expanding the established work area created in Step One by approximately ½ the diameter of the RenuDisk with each outward progression. Each pass should overlap the previous by about half the width of the disk. Maintain uniform pressure throughout the process.
- When the work area has been fully refined, expanded, and made uniform edge to edge, cease cleaning the Grey RenuDisk. At the end of the Mid Speed Pre-Polish subsection, it is necessary to allow the glass stock being removed from the pane to accumulate on the surface of the Grey RenuDisk.
- Disengage the RenuDisk from the glass pane.
- Disengage the polisher’s power trigger.
- Ensure the Grey RenuDisk surface is completely coated in glass stock.
- Continue to High Speed Pre-Polish.
NOTE: Over the course of the Mid Speed Pre-Polish, glass stock will accumulate on the RenuDisk surface. If the RenuDisk is clogged, and further refinement/ expansion of the established work area is required, it may be necessary to clean the Grey RenuDisk and continue the Mid Speed Pre-Polish. To maintain optimal performance of the Grey RenuDisk:
– Disengage the polisher’s power trigger. Ensure the disk is stationary.
– Utilize the non-aggressive face of the rasp file or wire brush.
– Administer gentle tapping motions on the RenuDisk surface. Refrain from brushing.


High Speed Pre-Polish
- Adjust the polisher to operate at a rotational speed of 3000 RPM.
- Align the RenuDisk surface to overlap the top left corner of the established work work area by approximately ½ the diameter of the RenuDisk, ensuring that the disk remains parallel to the glass pane.
- Engage the polisher’s power trigger, and trigger lock.
- Employ a systematic abrasion approach by guiding the RenuDisk in alternating horizontal and vertical paths, expanding the established work area created in Step Two: Mid Speed by approximately ½ the diameter of the RenuDisk. This action should form a precise cross-hatch pattern. Maintain uniform pressure.
- Disengage the RenuDisk from the glass pane.
- Disengage the polisher’s power trigger. Ensure the disk is stationary.
- Remove the Grey RenuDisk.
- Continue to: [Step Three: Polish].
NOTE: The Grey RenuDisk surface should maintain full glass stock accumulation during the entirety of the High Speed Pre-Polish subsection. No disk maintenance should be required.


Step Three: Polish
Step Three: Polish utilizes the Polishing Felt and Polishing Compound to restore glass to full luster.
- Secure the polishing felt to the designated backing pad.
- Using the rasp file, abrade the polishing felt surface gently. This helps elevate the natural fibers of the felt for enhanced polishing ease and efficiency.
- Vigorously agitate the bottle prior to each application to ensure homogeneous distribution of the polishing compound. Apply Polish Compound directly to the felt’s surface.
- Adjust the polisher to operate at a rotational speed of 600 RPM.
- Align the polishing felt surface to overlap the top left corner of the established work area by approximately ½ the diameter of the polishing felt, ensuring that the disk remains parallel to the glass pane.
- Engage the polisher’s power trigger, and trigger lock.
- Disperse the polish uniformly across the entirety of the work area.
- Employ a systematic polishing approach by guiding the polishing felt in consistent left-to-right and right-to-left passes, expanding the established work area created in Step Two by approximately ½ the diameter of the RenuDisk. Each pass should overlap the previous by about half the width of the felt. Maintain uniform pressure. Continue the polishing process until all of the Polishing Compound has been worked into the glass.
- Inspect the entire work area, checking for any remnants of haze from multiple angles. Pay particular attention to the edges and corners of the work area. If any remnants remain, begin Step Three again.
- When the pane has been adequately restored, clean the glass using any standard glass cleaning technique to remove excess Polishing Compound.


Professional Grade Systems by GlassRenu

Acid Etch Graffiti – FAQ
FAQ
Step One: Abrasion – FAQ
What speed should I run the polisher during the abrasion step?
1800 RPM is recommended for the Black RenuDisk.
How do I keep the RenuDisk flat on the glass during operation?
Hold the polisher with both hands, keep your arms relaxed, and let the tool’s weight apply pressure—don’t push. Use feedback from the polisher and glass surface to adjust as needed. See “Staying Flat” for more detail.
What movement pattern should I use during abrasion?
We recommend a left-to-right motion, dropping down by half a disk width with each pass, followed by a right-to-left pass—forming a box grid. Then reverse upward to complete the area. This consistent pattern helps maintain coverage and uniformity.
How can I tell when the damage has been fully removed?
Check under direct light at a low angle. If the damage is no longer visible from any viewing angle, you’re ready for pre-polish.
The disk is loading up with white residue. Is that normal?
Yes. That’s pulverized glass dust. When the disk is stopped, tap it gently on a rasp or wire brush to dislodge buildup and re-expose the abrasive surface for better cutting efficiency.
My RenuDisk is bouncing or skipping. What’s going on?
The disk may not be parallel to the surface. Re-center yourself and ensure your wrists aren’t angling the tool. Revisit “Staying Flat” for positioning tips.
How much pressure should I apply?
Use just the weight of the tool—no additional pressure is needed. Think smooth and controlled. More on this in “Pressure Application”.
Can I use the same Black RenuDisk on multiple jobs?
Yes, potentially. Monitor for signs of wear—once the abrasive surface looks polished or ineffective, it’s time to replace it.
Should I stop if the glass gets hot?
Yes. Use an IR thermometer to monitor temperature. Never exceed the recommended temperature differentials—see “Thermal Expansion” for details.
I’m seeing swirl marks after Step One. What happened?
Swirls are usually caused by:
- Not removing all of the original damage
- Failing to blend out startup or shutdown marks
- Not maintaining flat contact during operation
Step Two: Pre-Polish – FAQ
What RPM should I use during pre-polish?
Mid-speed: 1800 RPM to refine Step One.
High-speed: 3000 RPM to restore clarity and prep for polishing.
Do I overlap the same area again, or expand it?
Mid-speed: Overlap the Step One area by about half a disk diameter.
High-speed: Overlap the mid-speed area by half a disk diameter.
Keep the working area contained—you’re blending, not expanding.
Should the Grey RenuDisk be cleaned often?
Mid-speed: Cleaning is optional but helpful at the start. It exposes fresh abrasive to remove fine scratches from Step One. Toward the end, allow the disk to clog—this will aid the high-speed pass.
High-speed: Do not clean. The fine glass dust coating helps prep the surface for polishing.
What am I looking for visually after pre-polish?
Mid-speed: A uniform, slightly hazy finish with no visible scratch pattern. Faint pad swirls are normal.
High-speed: Similar finish, but with restored reflectivity. You should not see any scratches from Step One. Sharp, clean blend edges will transition better than feathered or wispy ones.
The Grey RenuDisk feels like it’s not doing anything. Is it worn out?
Possibly. It should produce light dust and some warmth. If it’s glazed or ineffective, replace it.
Note: The Grey RenuDisk is single-use. Unlike Black or Red, it does not have an extended lifespan.
My blend looks patchy—what’s the fix?
Inconsistent pressure, speed, or tilt are likely culprits. Keep your motion smooth and parallel to the surface throughout each pass.
The work area keeps getting larger—should I be worried?
Yes. This can lead to optical distortion. Use a grease pencil or tape on the back side of the glass to mark your target zone and keep your blend contained.
Can I skip this step if the polish looks good after Step One?
No. Skipping pre-polish compromises clarity. It’s essential for refining the surface and preparing it for final polishing.
Step Three: Polish – FAQ
What RPM should I use to polish?
600 RPM is ideal. Stay steady and controlled throughout the process.
Do I need to prep the felt pad before polishing?
Yes. Rasp the pad to raise the fibers before applying compound. This allows for even polishing and consistent clarity.
How much compound should I use?
Start with a quarter-sized dab in the center. Apply more only when the pad begins to dry or drag. The compound should be damp—not dripping.
The glass looks cloudy after polish. What now?
You may not have polished long enough. Add more compound and repeat the polishing pass until full clarity is restored.
I’m getting swirl marks in the final polish. What’s wrong?
This can result from:
– Uneven motion or pressure
– A contaminated felt pad
– Incomplete Step Two
Do I need to clean the felt pad between jobs?
Yes. Rasp the pad clean between uses to remove dried compound. Do not wash it with water.
The polish is spattering everywhere. What’s the cause?
Likely causes include:
– Too much compound
– Starting the tool before the pad is seated
– Running the RPM too high
Can I reuse the felt pad across multiple jobs?
Yes, with proper rasping between jobs. Replace when it becomes hard, glazed, or no longer effective.
General Process – FAQ
How can I tell what kind of glass I’m working on?
Tempered glass usually has a stamp in one corner. Annealed, tempered, and laminated glass each respond differently to heat and abrasion.
See the Identifying Glass Types section of the handbook for a full breakdown.
Can I restore curved or architectural glass?
Yes, but with care. Use smaller pads, light pressure, and keep consistent contact to avoid distortion.
What’s the max temperature the glass should reach?
Tempered: Max +120°F differential
Annealed: Max +80°F differential
Laminated: Max 145°F absolute
Refer to Thermal Expansion for handling guidelines.
What if the damage doesn’t respond to any of the steps?
No surface-level damage is unfixable with GlassRenu.
Extremely deep damage may cause distortion or affect the tempering envelope—but these cases are rare. Always set expectations upfront.